
Make your "Second Brain" with Claude and Obsidian
Connect Claude and Obsidian to build a second brain Claude can actually read, search, and write to. Two beginner-friendly setups, a full Windows walkthrough, and a free template that gets you running tonight.
You probably already know this feeling. You've got notes in five different apps, half-finished ideas in your phone, screenshots of things you meant to come back to, and a voice memo from three weeks ago that might have been brilliant. Somewhere in there is a real life, a real business, and a real plan, but it lives in pieces.
The Claude and Obsidian setup fixes that. It gives you one home for everything you think about, plus an AI that actually understands what's in there and can help you do something with it. And the best part is you can run it two completely different ways depending on how technical you want to get.
This guide walks through both. By the end you'll have a working second brain you can actually live in, whether you choose the simple route (a five-minute config in Claude Desktop) or the deeper route (Claude Code working inside an Obsidian vault that's structured like a personal operating system).
What you'll have when you're done: A vault Claude can read, search, write to, and reason across. Plus a clear sense of which option fits your workflow, so you don't waste a weekend on the wrong setup.
Why this combo is so good (the part nobody explains well)
Most "AI second brain" articles miss the point. They show you a tool and call it a workflow. The Claude and Obsidian pairing actually works because of what each piece does that the other can't.
Obsidian is a local-first notes app. Your files live on your computer as plain markdown, in folders you control, with no vendor in the middle. That last part matters more than people realize. Because your notes are just text files in a folder, anything that can read a folder of text files can work with them. That's where Claude comes in.
Claude reads your notes the way a smart assistant who's been with you for years would. Not as a search engine ("find the file with X in it"), but as a thinking partner ("based on what I've written down about my goals, my projects, and last week's wins, what should I focus on tomorrow?").
That difference is what people mean when they say their second brain "clicked." It's not the storage. It's the conversation you start having with everything you've ever captured.
Three things people actually do with this setup
Personal life-OS
Goals, weekly reviews, journaling, habit tracking. Claude reads your goals, looks at the week you just had, and helps you plan the next one without you having to re-explain your life every Sunday.
Knowledge work
Research notes, reading highlights, drafts, idea jams. Claude can pull threads across hundreds of notes you've forgotten about and help you turn raw input into actual writing.
Business operations
Client files, project briefs, content calendars, SOPs. The vault becomes your team's shared brain, and Claude becomes the operator who knows where everything is.
The compounding effect
Every note you add makes Claude smarter about you. Six months in, it's genuinely the most useful AI tool you have, because it actually knows your context.
The real win: Most people use AI like a stranger they have to brief from scratch every time. The point of this setup is to stop doing that. Once Claude can read your vault, you skip the briefing and go straight to the work.
Now to the actual setup. There are two ways to wire these tools together, and they solve slightly different problems. Read both before you pick one, because the right answer depends on what you want the AI to do.
| Aspect | Option 1 (Obsidian inside Claude) | Option 2 (Claude inside Obsidian) |
|---|---|---|
| Setup time | ~15 minutes | ~30 minutes |
| Where you work | Inside the Claude Desktop app | Inside Obsidian (with the Claudian sidebar) |
| Best for | Asking questions about your notes | Building a structured second brain |
| Technical level | Beginner | Beginner with patience |
| Requires Claude Pro or higher | Yes | Yes (for Claude Code) |
Before either option, you'll need Claude installed. The next section covers that for both Mac and Windows. After that, pick your path.
Installing Claude (Desktop app + Claude Code in your terminal)
Both options in this guide assume you've got Claude on your machine. There are two pieces you might want, depending on which option you pick:
- Claude Desktop app: a standalone chat app. Required for Option 1, optional for Option 2.
- Claude Code: a command-line version of Claude that runs in your terminal and can read and write files in any folder. Required for Option 2, optional for Option 1.
If you're not sure which you'll need, install both. They take about ten minutes combined and they don't conflict with each other.
One requirement before you start: You need a Claude Pro subscription ($20/month) or higher to run Claude Code. The free tier doesn't include it. The Desktop app works on the free tier, but Pro is what you'll want for any real work.
Installing the Claude Desktop app
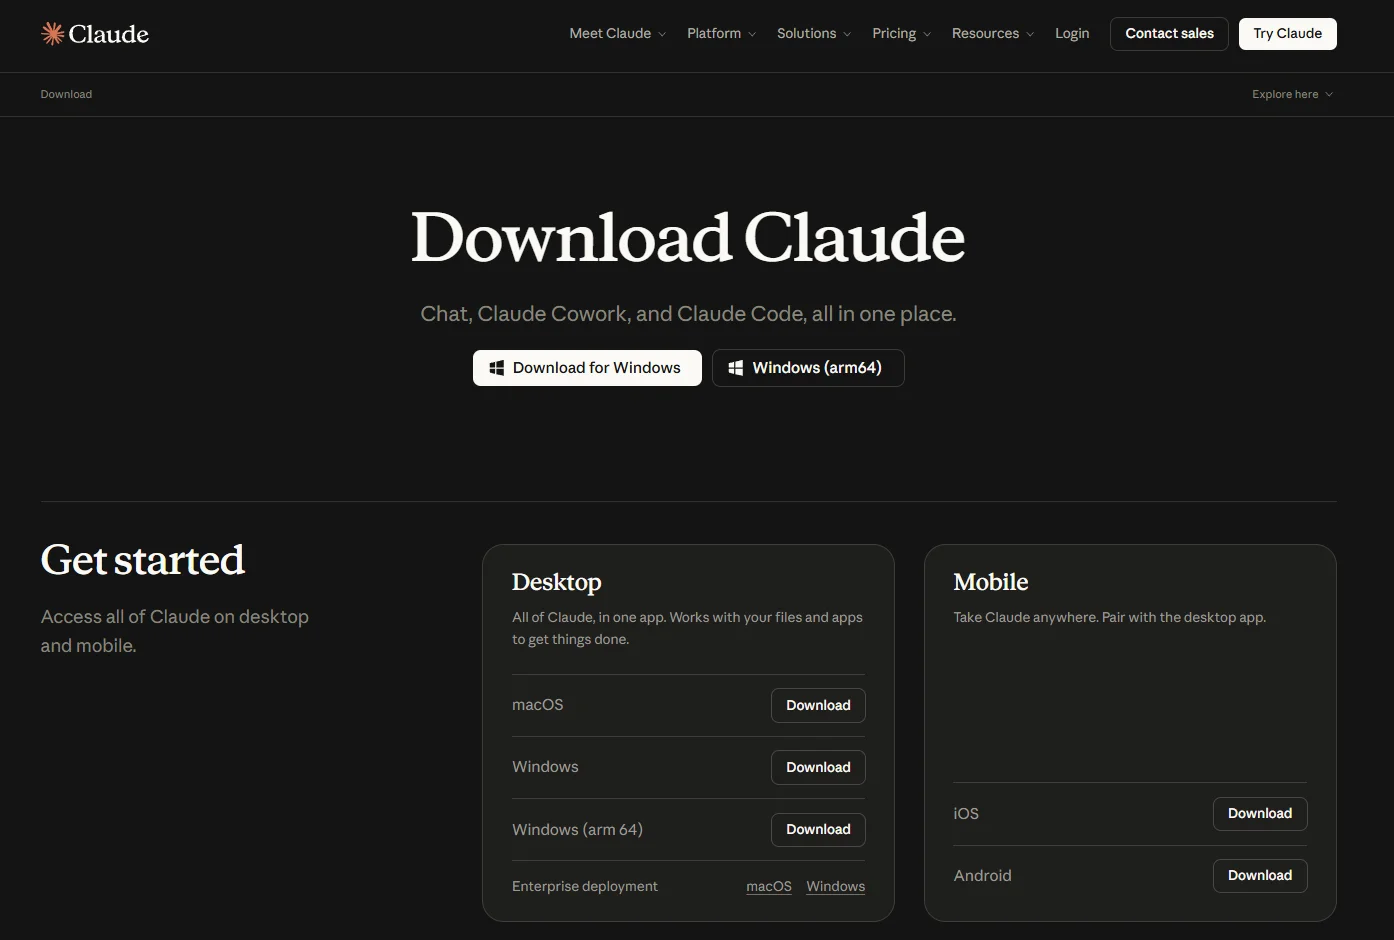
This part's easy. Go to claude.ai/download in your browser, pick your operating system, and run the installer. It works exactly like installing any other app. On Mac you drag it to Applications. On Windows it sets itself up through a normal installer.
Once it's installed, open it and sign in with the same account you use on the Claude website. You're done. The Desktop app is what you'll need for Option 1, and it's also where you'll edit MCP server configs later.
Installing Claude Code (the terminal version)
This is the one most people skip because "terminal" sounds intimidating. It isn't. You're going to copy and paste one line and then you're done.
Pick your operating system below.
On Mac
Open the Terminal app (Cmd+Space, type "Terminal", hit Enter). Paste this in and hit Enter:
curl -fsSL https://claude.ai/install.sh | bash
What just happened: curl downloaded the install script from Anthropic's servers and piped it to bash which ran it. The script installed the claude binary to a folder called ~/.local/bin and added that folder to your PATH so your terminal knows where to find it. No Node.js, no Homebrew, no dependencies. It also auto-updates itself in the background.
Close your Terminal window, open a new one, and run:
claude --version
If you see a version number, you're good.
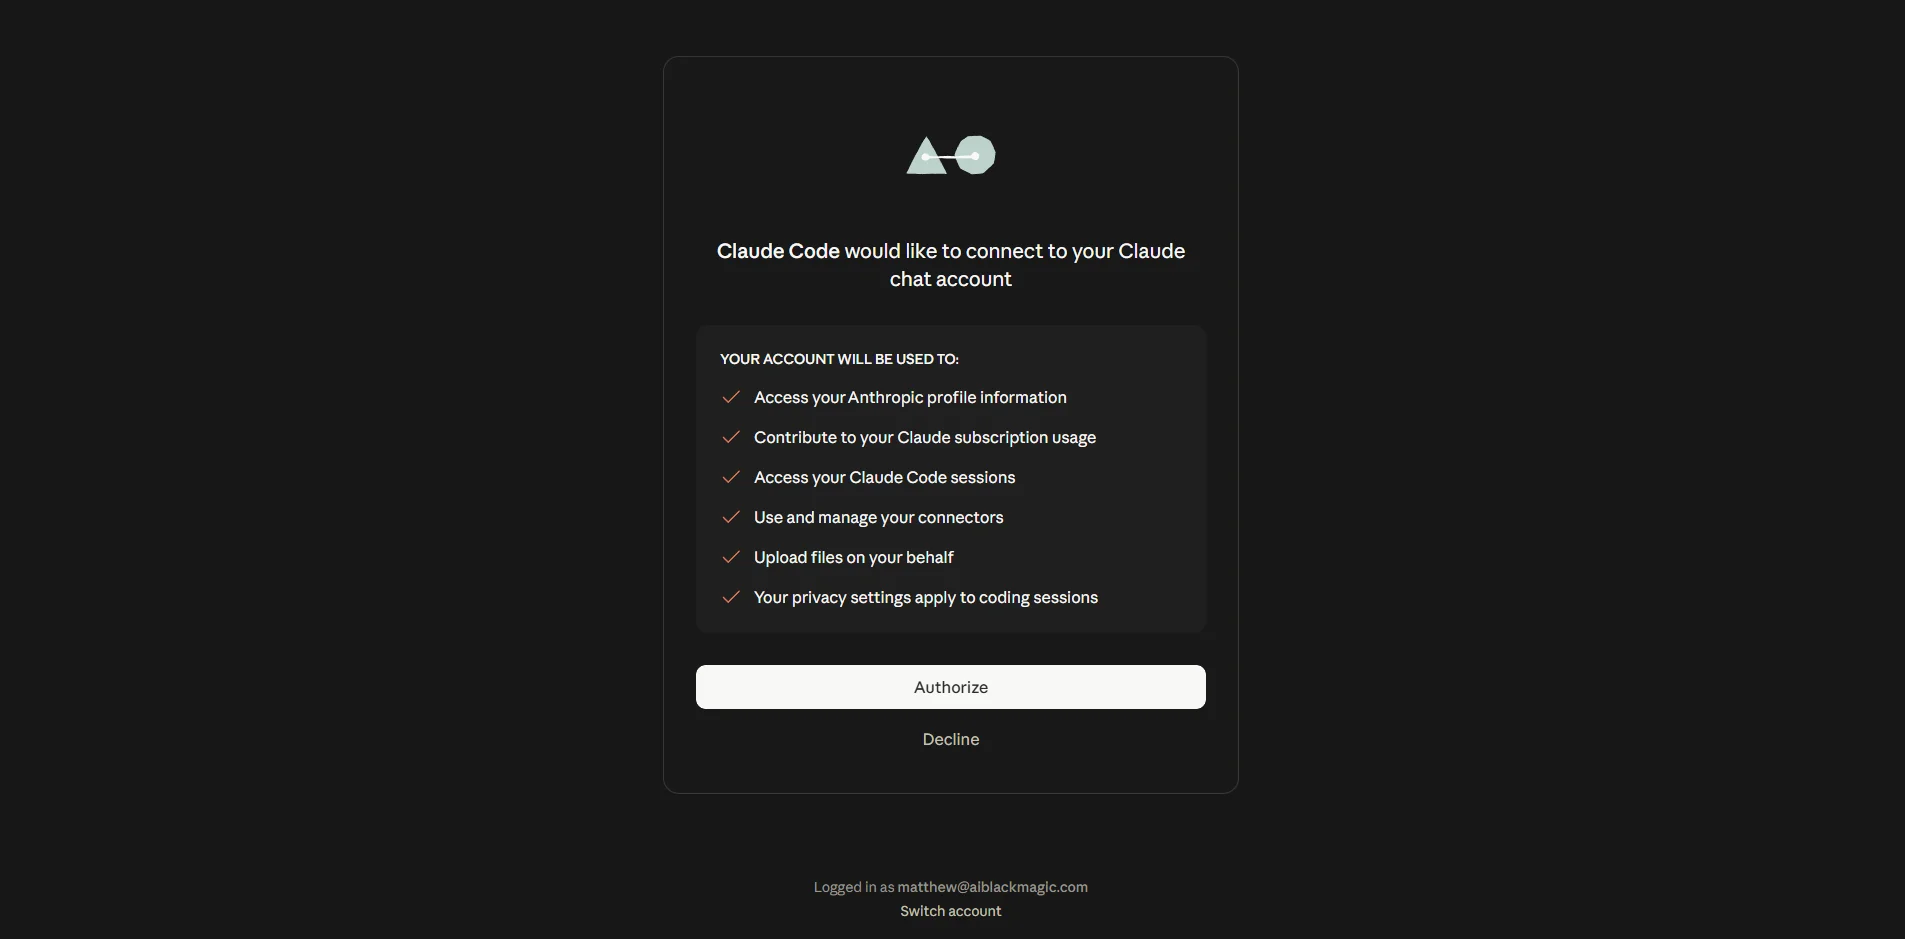
Now run claude in that same terminal window to log in. It'll open a browser window asking you to authenticate. Sign in with your Pro account and come back to the terminal. You're done.
On Windows
Open PowerShell (not Command Prompt, this matters). Click the Windows search bar, type "PowerShell", and hit Enter. Paste this in:
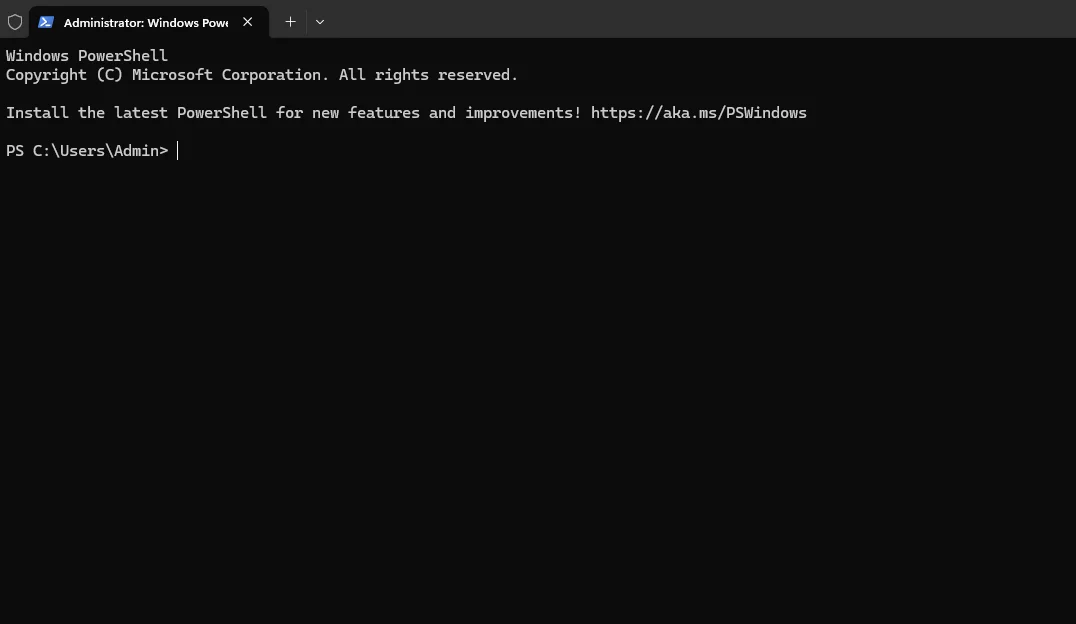
irm https://claude.ai/install.ps1 | iex
What just happened: irm is short for Invoke-RestMethod, which downloaded the install script. iex is short for Invoke-Expression, which ran it. The script installed claude.exe to ~\.local\bin and made the claude command available globally.
If you see "irm is not recognized": You're in Command Prompt, not PowerShell. Close that window and open PowerShell instead. They look almost identical but only PowerShell understands the irm command.
Close PowerShell, open a new window, and run:
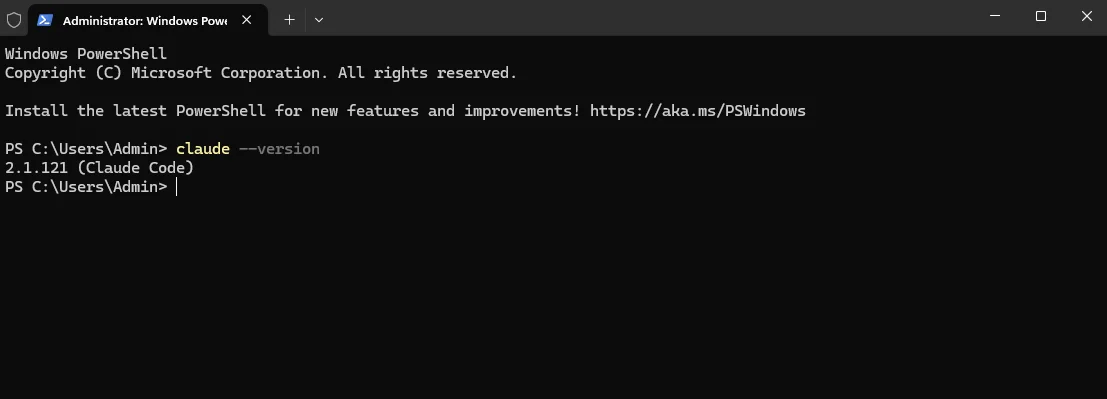
claude --version
If you get "claude is not recognized as a cmdlet" after a fresh window, the install folder probably didn't get added to your PATH. Open PowerShell and run $env:PATH += ";$HOME\.local\bin" to add it for the current session, then add it permanently through System Properties > Environment Variables.
Once claude --version works, run claude to log in. A browser window opens, you sign in with Pro, and you're done.
Quick checkpoint: Before moving on, make sure you can open a terminal (Mac) or PowerShell (Windows), type claude, and have it start. If that works, the rest of this guide will go smoothly.
Option 1: Putting Obsidian inside Claude (the beginner-friendly way)
This is the route you take if you want to chat with your notes from the Claude Desktop app. You open Claude, ask it something about your vault, and it reads your files in real time and answers. No terminal, no editing files, no project setup. Just conversation.
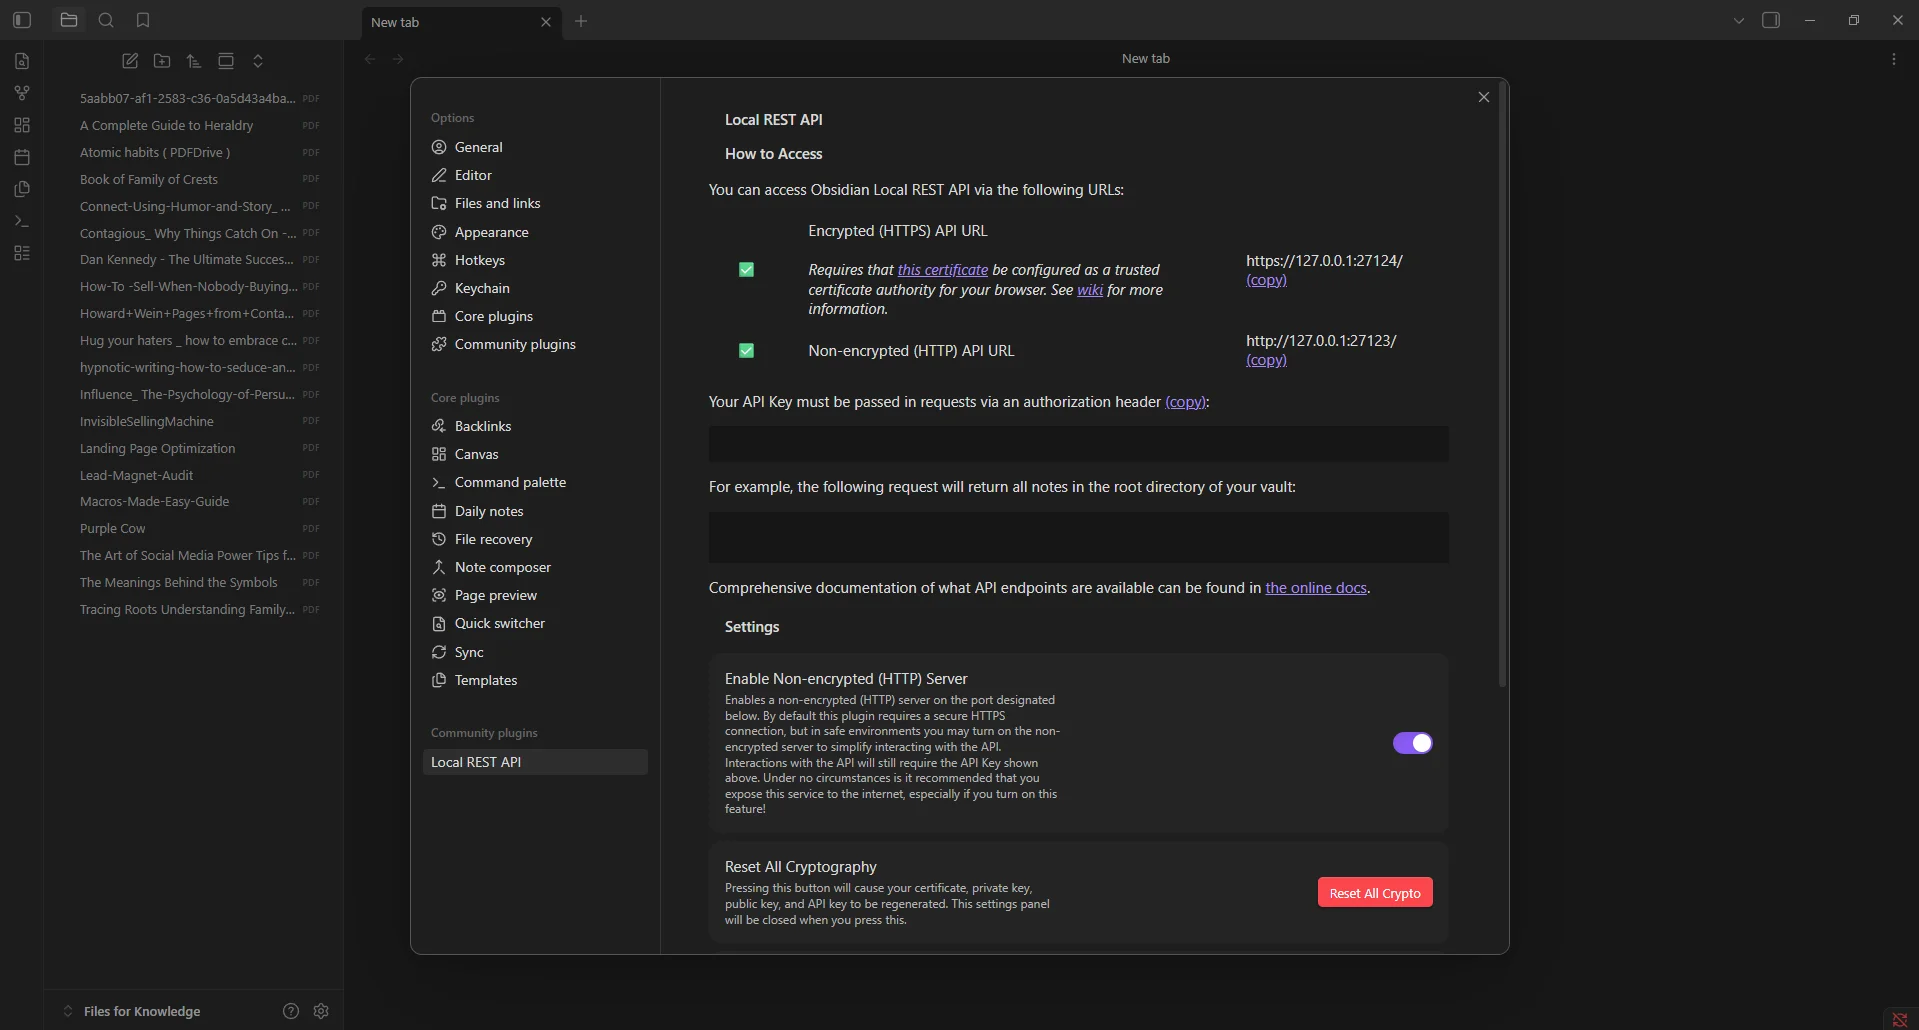
Under the hood, you're going to install something called an MCP server. MCP stands for Model Context Protocol. Think of it as a small program that sits between Claude and another app (in this case Obsidian) and translates between them. You don't have to know how it works. You just have to install it once.
There are three pieces:
- Obsidian, with a small community plugin called Local REST API. This turns your vault into something programs can read.
- An MCP server (we'll use the popular mcp-obsidian server) that knows how to talk to that REST API.
- A few lines added to Claude Desktop's config file so it knows the MCP server exists.
That's the whole thing. Let's do it.
Step 1: Install Obsidian (if you don't have it yet)
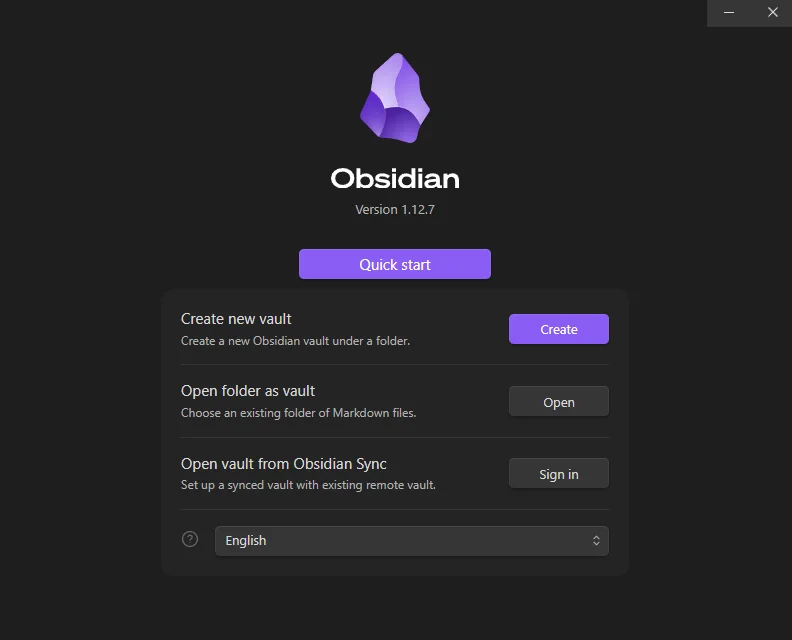
Go to obsidian.md and download the app for your operating system. Open it, and when it asks you to create or open a vault, point it at any folder on your computer. A vault is just a folder. Pick one called "Notes" on your Desktop or wherever feels right. You can always change it later.
Step 2: Install the Local REST API plugin
Inside Obsidian, click the gear icon in the bottom-left to open Settings. In the left sidebar, click Community plugins. If this is your first time, Obsidian will ask you to "turn on" community plugins. Click the button and confirm.
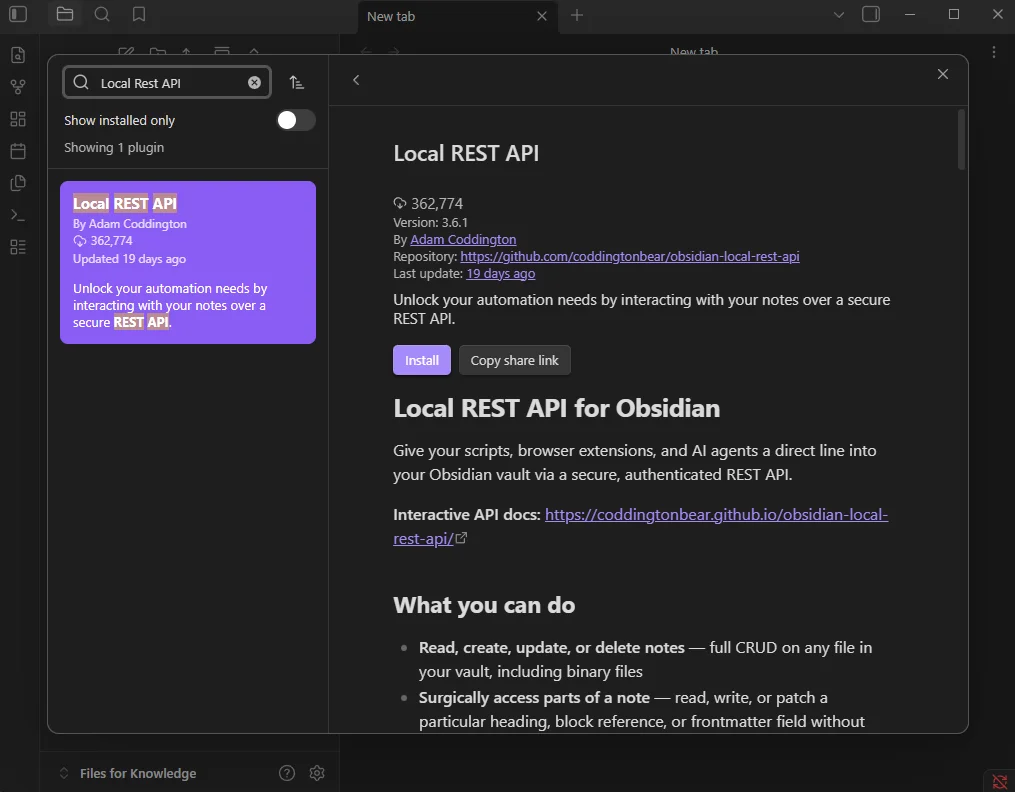
Then click Browse and search for "Local REST API." It's by an author called coddingtonbear. Click Install, then Enable.
Now go back to Settings and look in the sidebar for Local REST API (it'll appear under "Community plugins" once you've enabled it). Click into it. You'll see an API key on that page. Copy it somewhere safe. You'll paste it into Claude's config in a minute.
Pro tip: The plugin runs a small server on your local machine on port 27124. That server only listens for connections from your own computer, so nothing is exposed to the internet. The API key is what stops other apps on your machine from poking around your vault without permission.
Step 3: Install uv (a tiny tool that runs the MCP server)
The MCP server is a Python program. To run it without installing Python and managing packages by hand, we'll use a tool called uv that handles all of that for us. It's basically a one-line install.
On Mac, paste this into Terminal:
curl -LsSf https://astral.sh/uv/install.sh | sh
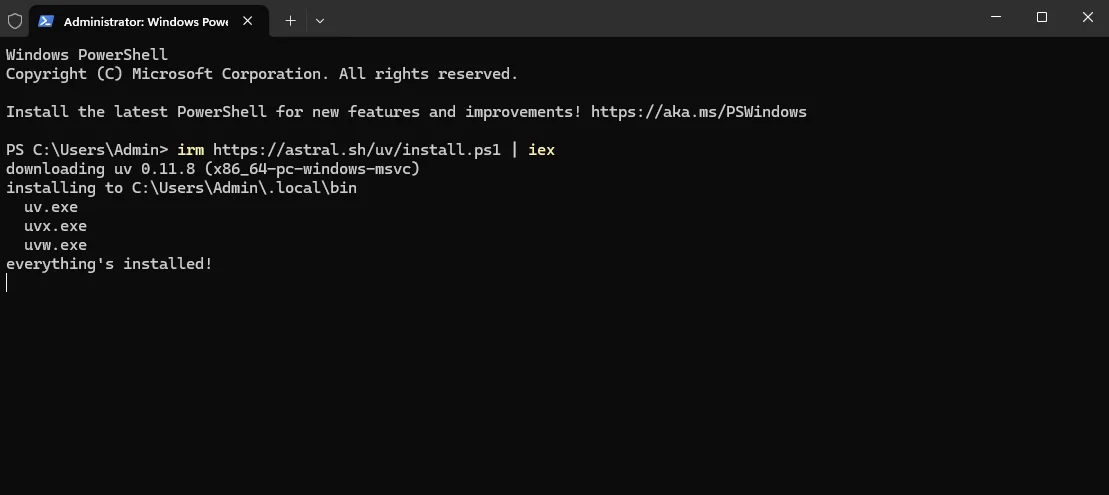
On Windows, paste this into PowerShell:
irm https://astral.sh/uv/install.ps1 | iex
Close and reopen your terminal, then run uv --version to confirm. You don't need to do anything else with uv. Claude will use it automatically.
Step 4: Tell Claude Desktop about the MCP server
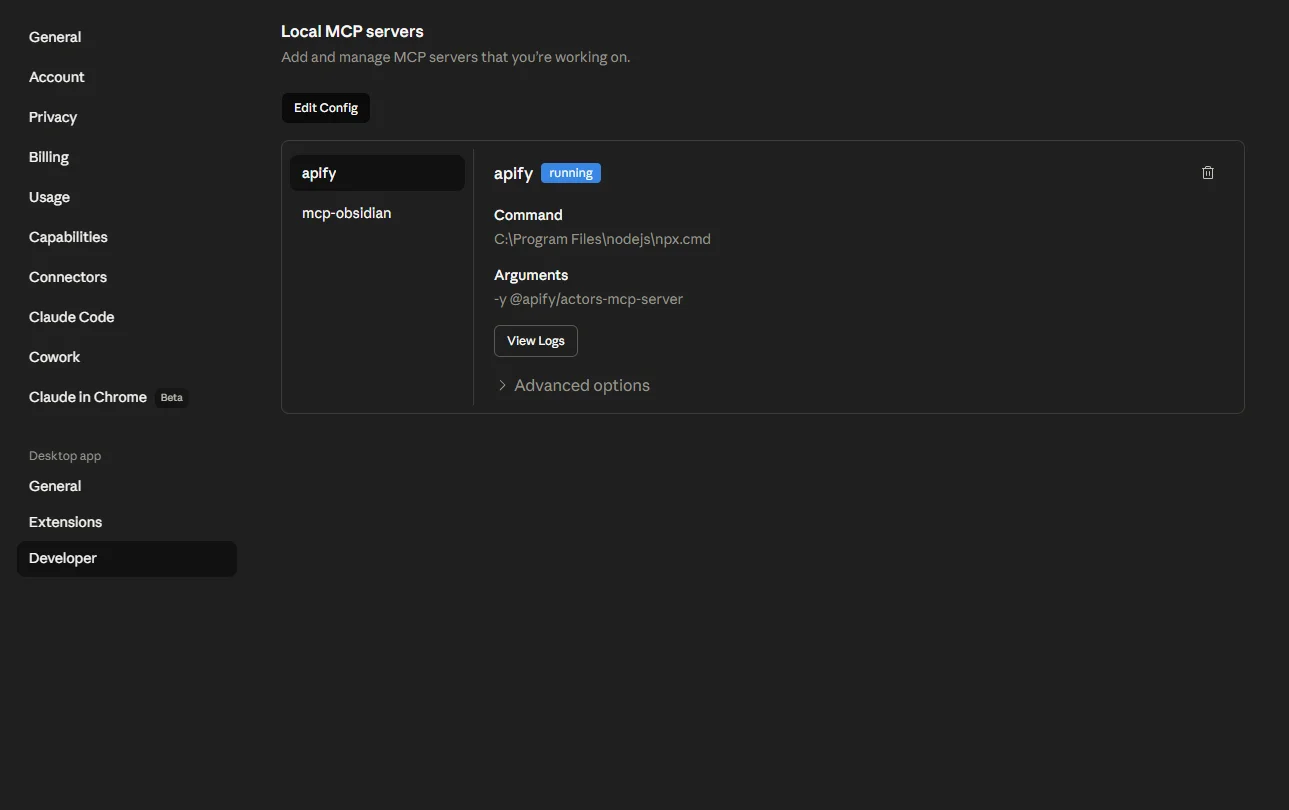
Open Claude Desktop. Click the menu (top-left on Mac, hamburger on Windows) and go to Settings. In the left sidebar, click Developer. You'll see a section called MCP Servers and a button labeled Edit Config. Click it.
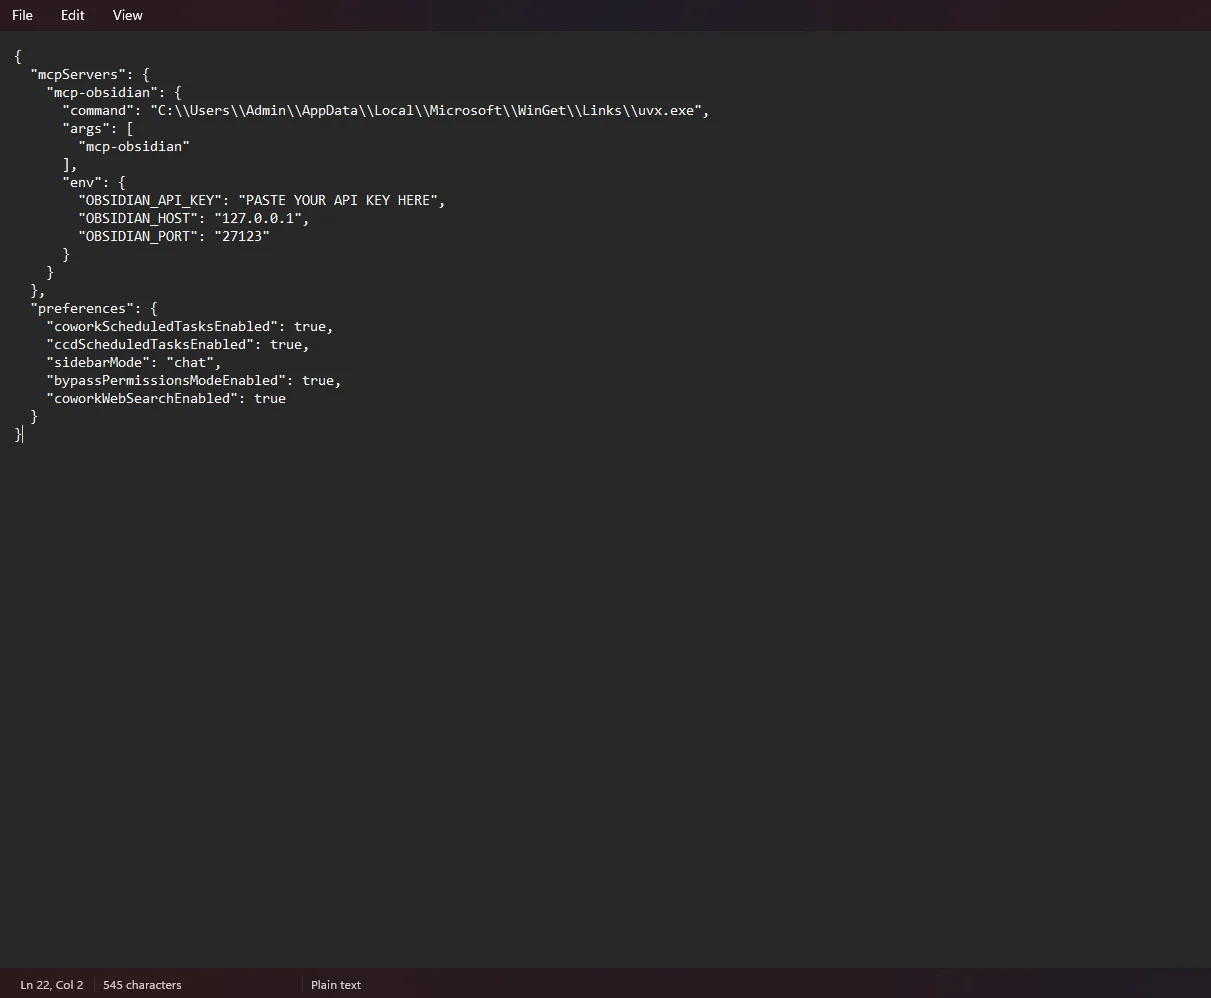
This opens a file called claude_desktop_config.json in your default text editor (TextEdit on Mac, Notepad on Windows). It might look intimidating, but it's just a regular text file with curly braces.
If the file is empty or has just empty curly braces, replace whatever's there with this:
{
 "mcpServers": {
 "obsidian": {
 "command": "uvx",
 "args": ["mcp-obsidian"],
 "env": {
 "OBSIDIAN_API_KEY": "PASTE_YOUR_API_KEY_HERE"
 }
 }
 }
}
Replace PASTE_YOUR_API_KEY_HERE with the actual API key you copied from Obsidian a minute ago. Keep the quotes around it. Save the file.
If the file already had other MCP servers in it, just add the "obsidian" block inside the existing mcpServers object (and remember to add a comma between entries).
Watch your JSON: Missing commas, extra commas, or mismatched brackets can silently break the whole config and disable all your MCP servers. If something goes wrong later, paste the file into a JSON validator (search "JSON validator" online) to spot the typo.
Step 5: Restart Claude Desktop and try it
Quit Claude Desktop completely (not just close the window: actually quit it from the menu) and reopen it. The MCP server starts in the background. You should see a small icon in the chat input area indicating MCP tools are connected.
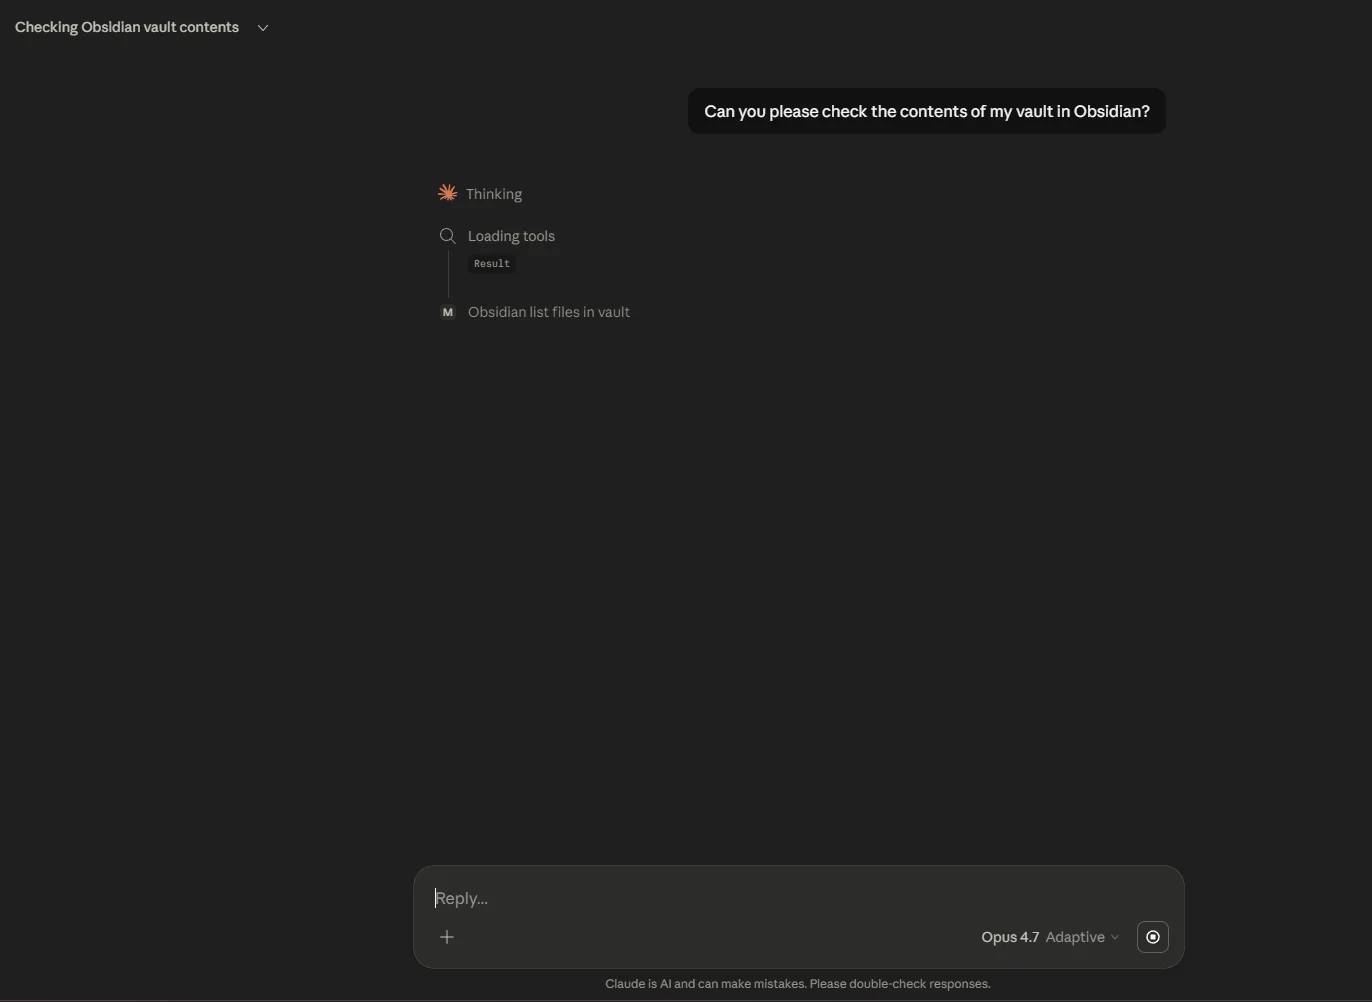
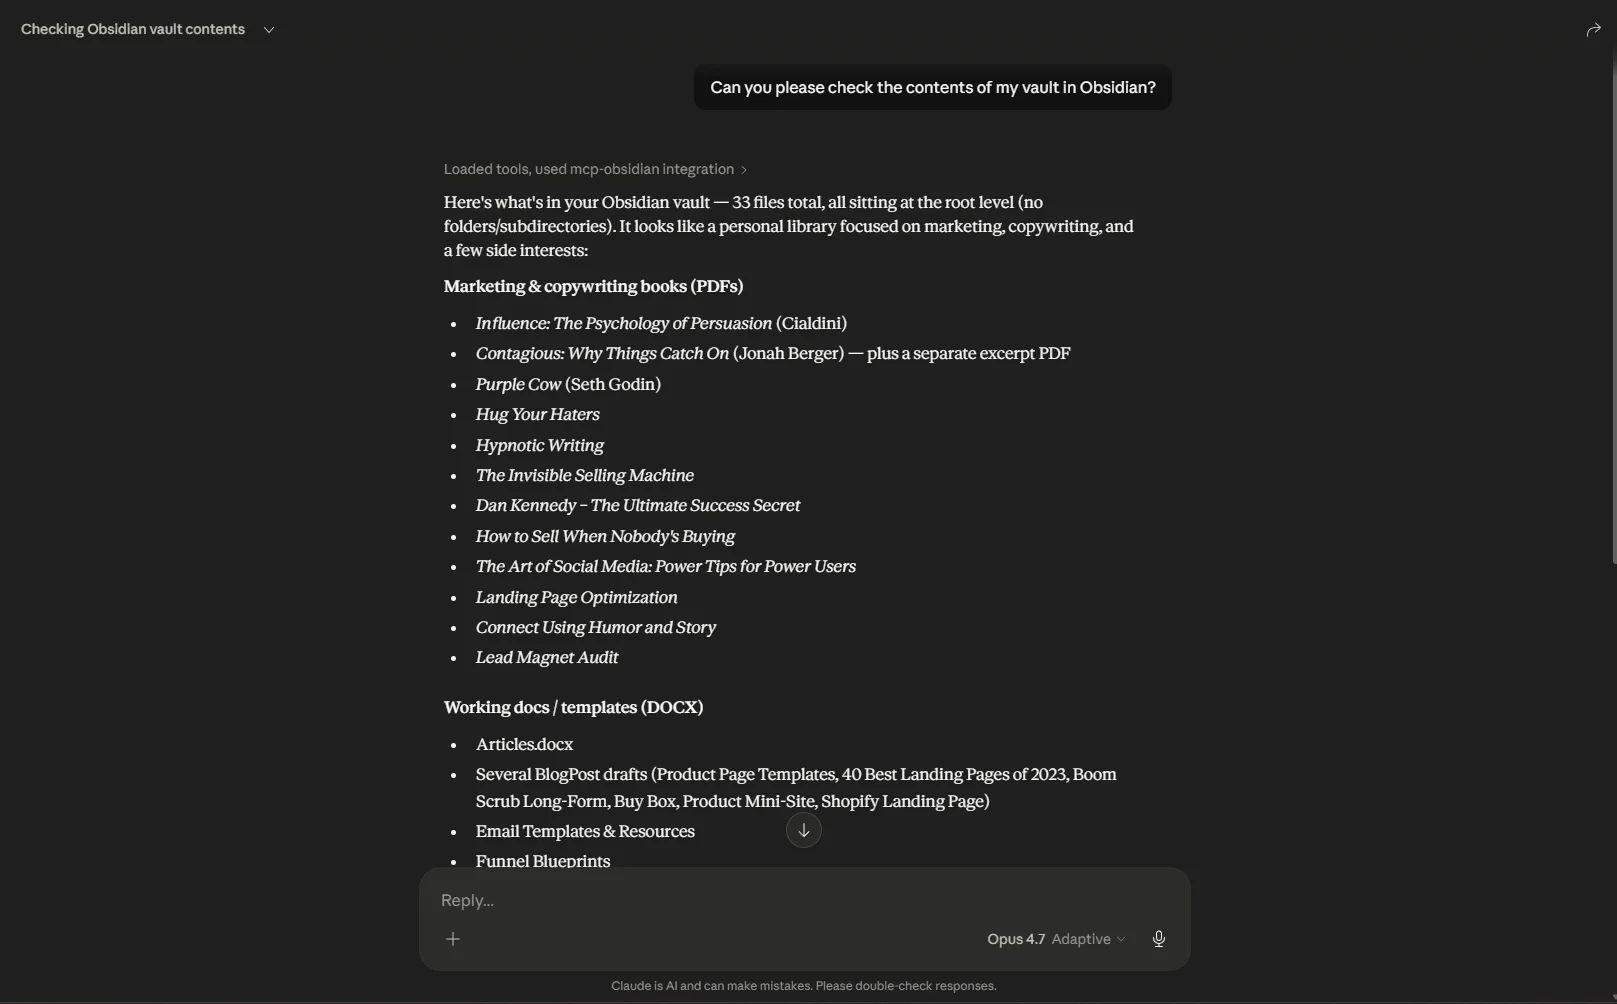
Open Obsidian and make sure your vault is open in the background. Then in Claude, try something like:
List the files in my Obsidian vault.

What notes do I have about my current projects?

Search my vault for anything I've written about [topic] and summarize what I think about it.
If Claude responds with actual content from your vault, you're done. You now have an AI that reads your notes.
What you can do with Option 1 once it works
Open Claude any time and ask:
- "Pull up my notes from this week and tell me what I've been thinking about most."
- "I've got a meeting with [client]. Give me a one-page brief based on everything in my vault about them."
- "Find every note where I've mentioned [idea] and tell me what's evolved over time."
- "Add a new note called 'Q3 Planning' under my Projects folder with a draft based on what we just discussed."
That last one matters. Claude can write to your vault, not just read it. Anything you talk through in Claude can be saved straight into Obsidian without copy-paste.
When this option is enough: If you mostly want to chat with your notes and have Claude help you draft, search, and summarize, Option 1 is everything you need. You can stop here. Option 2 is for people who want a more structured second brain with templates, skills, and projects.
Option 2: Putting Claude inside Obsidian (the deeper way)
Option 1 makes your notes available to Claude. Option 2 turns your vault into a structured operating system that Claude actively works inside. The difference is hard to feel until you've used both, but here's the short version: Option 1 is for asking. Option 2 is for doing.
The way this works is that you open a pre-built folder (the Second Brain Template) as your Obsidian vault. The template comes with a specific folder structure, a couple of CLAUDE.md files (which tell Claude how to behave inside this vault), and a set of small skills (like "weekly-update," "new-project," "brain-setup") that Claude can run on command. You then sit Claude Code on top of that folder and let it work.
The result is a vault that knows your goals, knows your projects, knows your routines, and gives Claude enough context to actually be helpful instead of just smart.
Step 0: Get the Second Brain Template
First, grab the downloadable ZIP file/framework which you can find here. Unzip it somewhere convenient (your Desktop is fine), and rename the unzipped folder to whatever you want your vault to be called. "My Brain" is a good default.
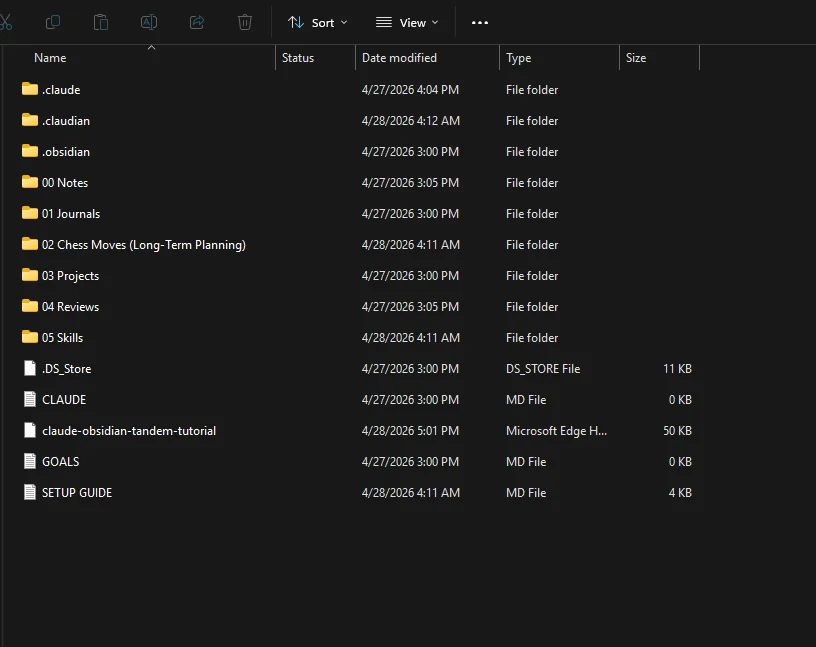
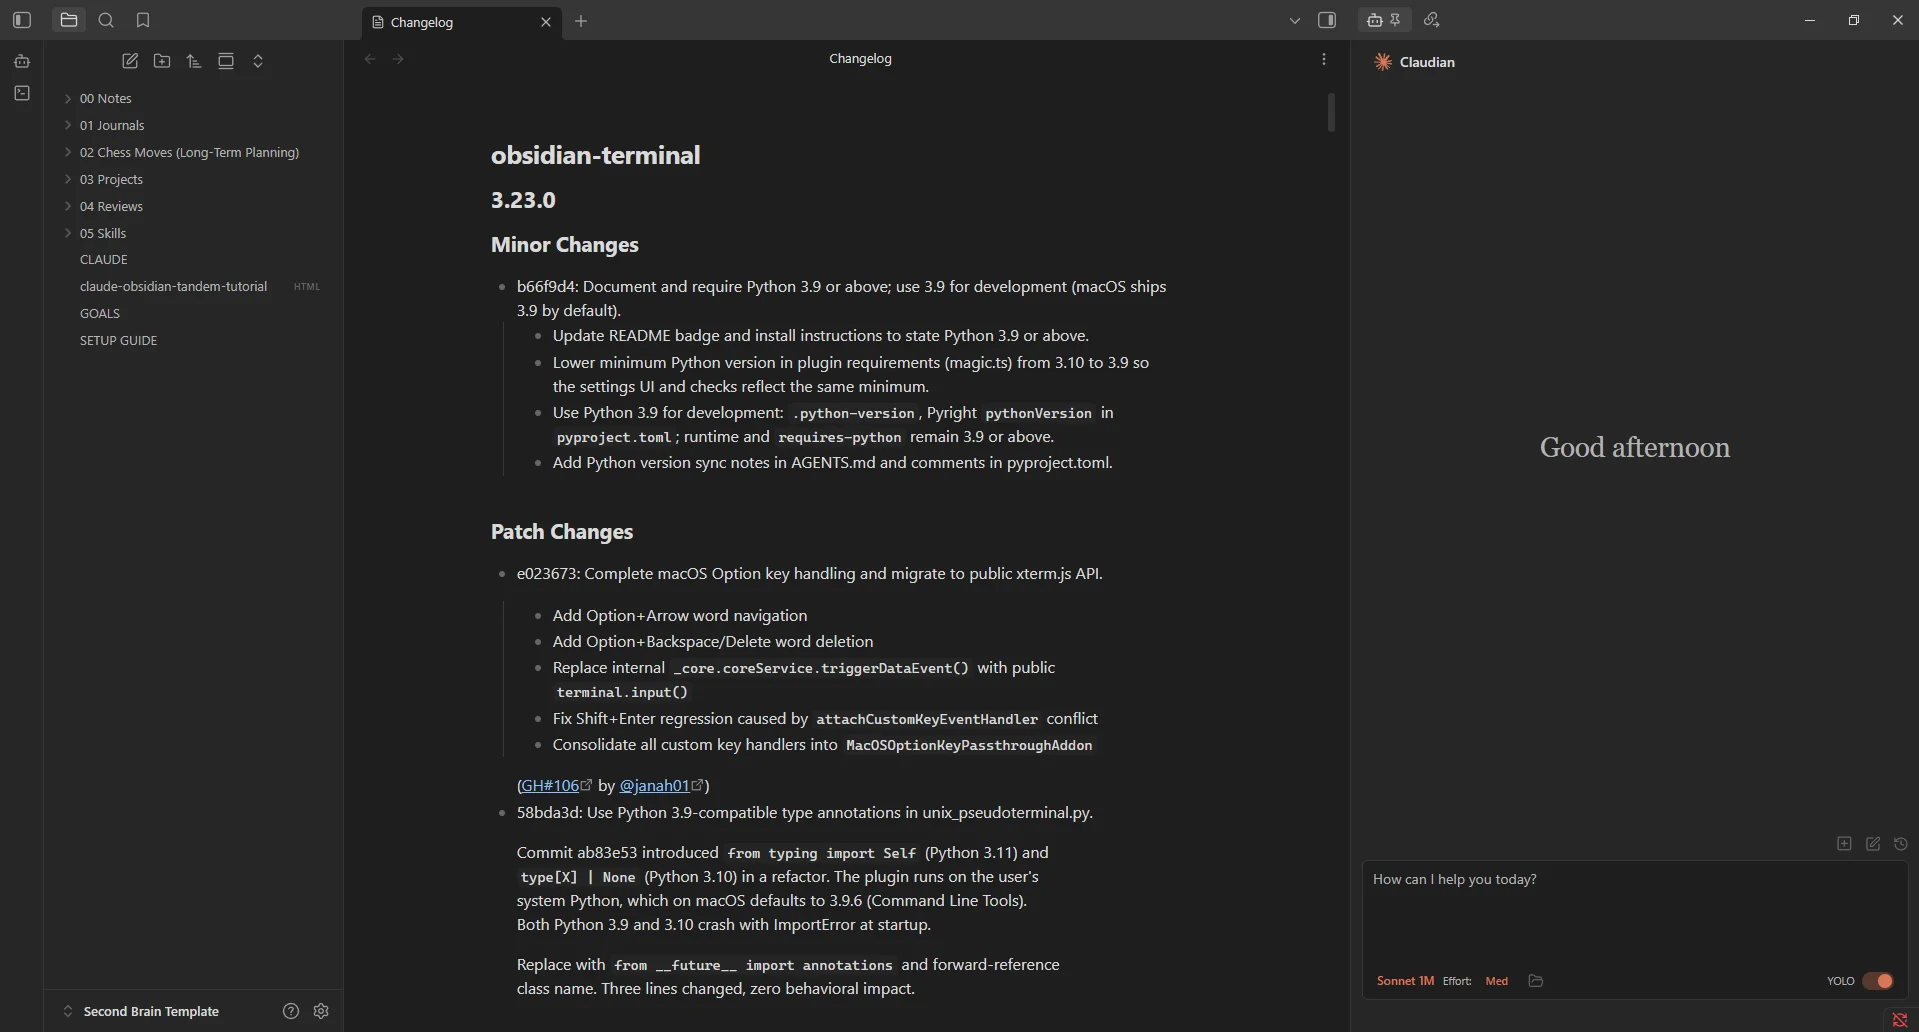
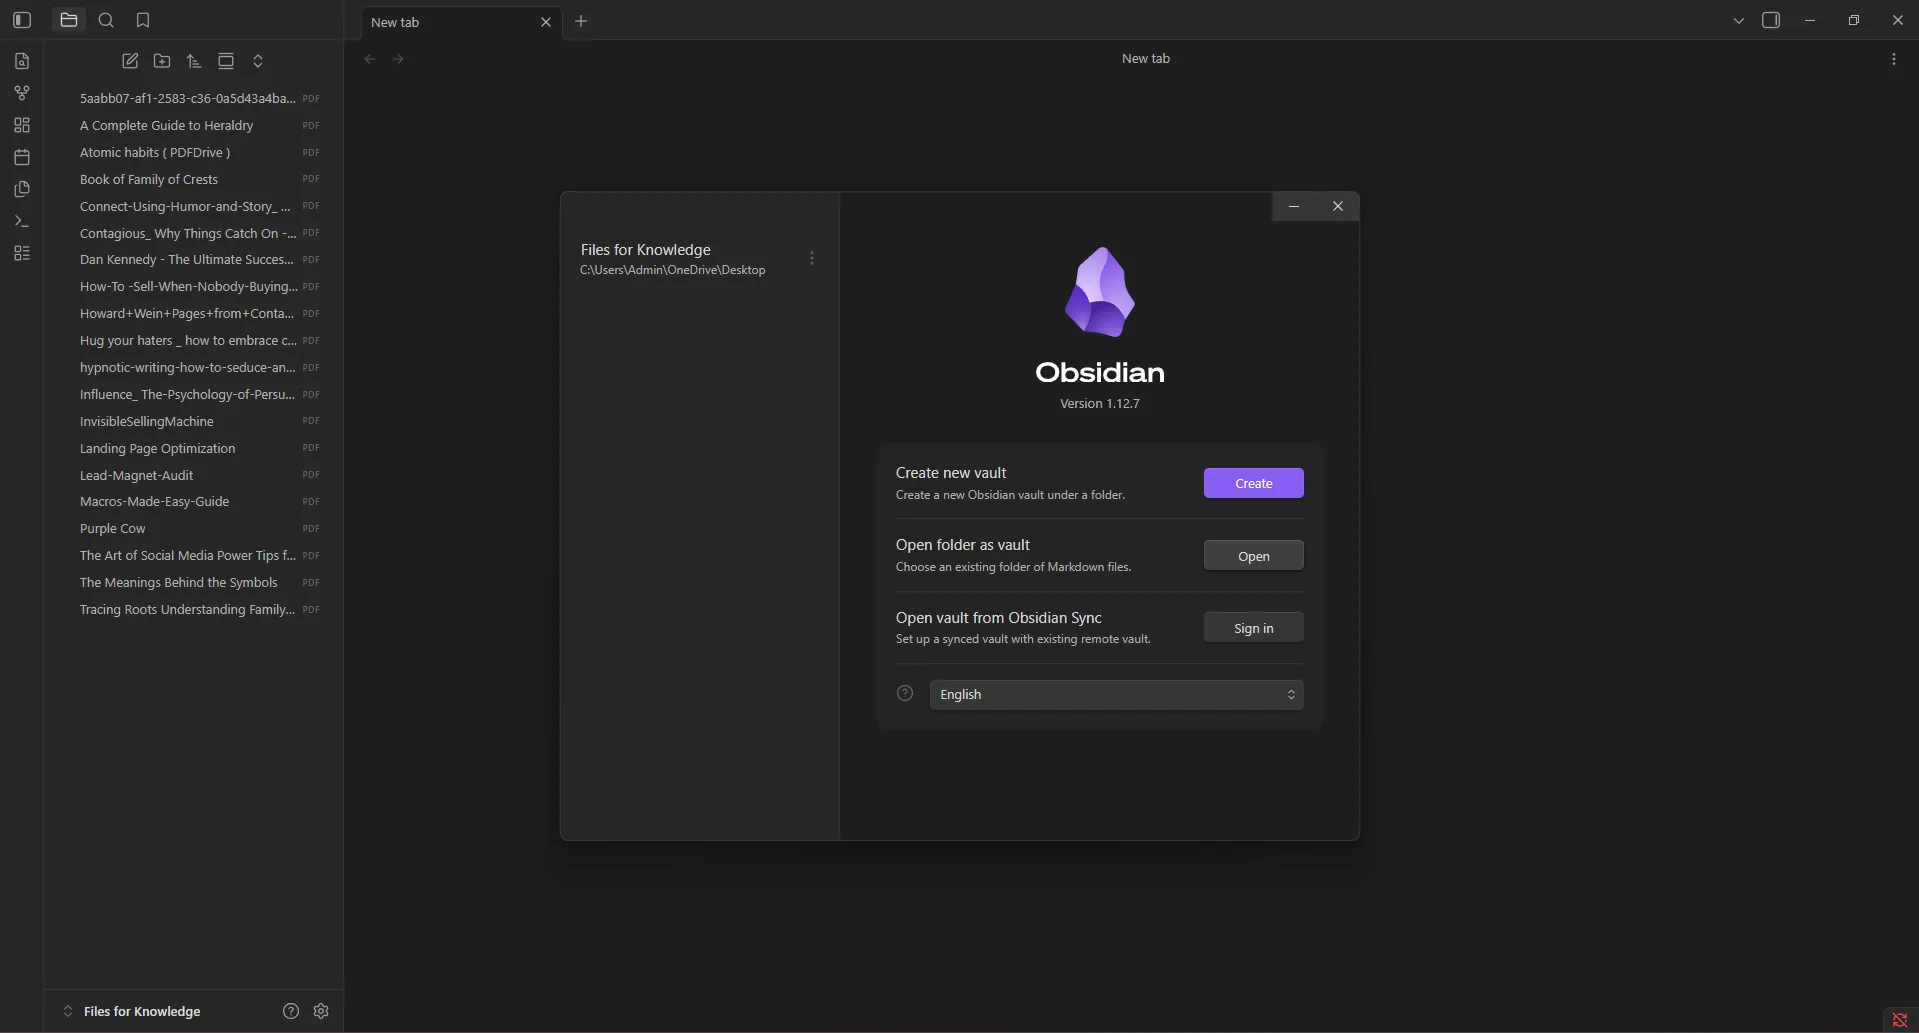
Open Obsidian, click the vault icon in the bottom-left, and choose Open folder as vault. Point it at the folder you just unzipped. Obsidian opens it like any other vault, except you'll notice this one already has structure: numbered folders, a CLAUDE.md, a GOALS.md, and a SETUP GUIDE.md sitting at the top.
Read the SETUP GUIDE.md first. It's short and it'll tell you what each folder is for. Then come back here.
Step 1: Make sure Claude Code is installed
If you've already done Section 02, skip this. Otherwise go back and run the install command for your OS, log in, and confirm claude --version works.
You can also use the Claude Desktop app instead and choose this folder as your project workspace. Same goes for any IDE that supports Claude (VS Code, Warp, Cursor, Antigravity). The terminal route is the most universal, so this guide focuses on that.
Step 2: Install the Claudian plugin (the in-Obsidian chat panel)
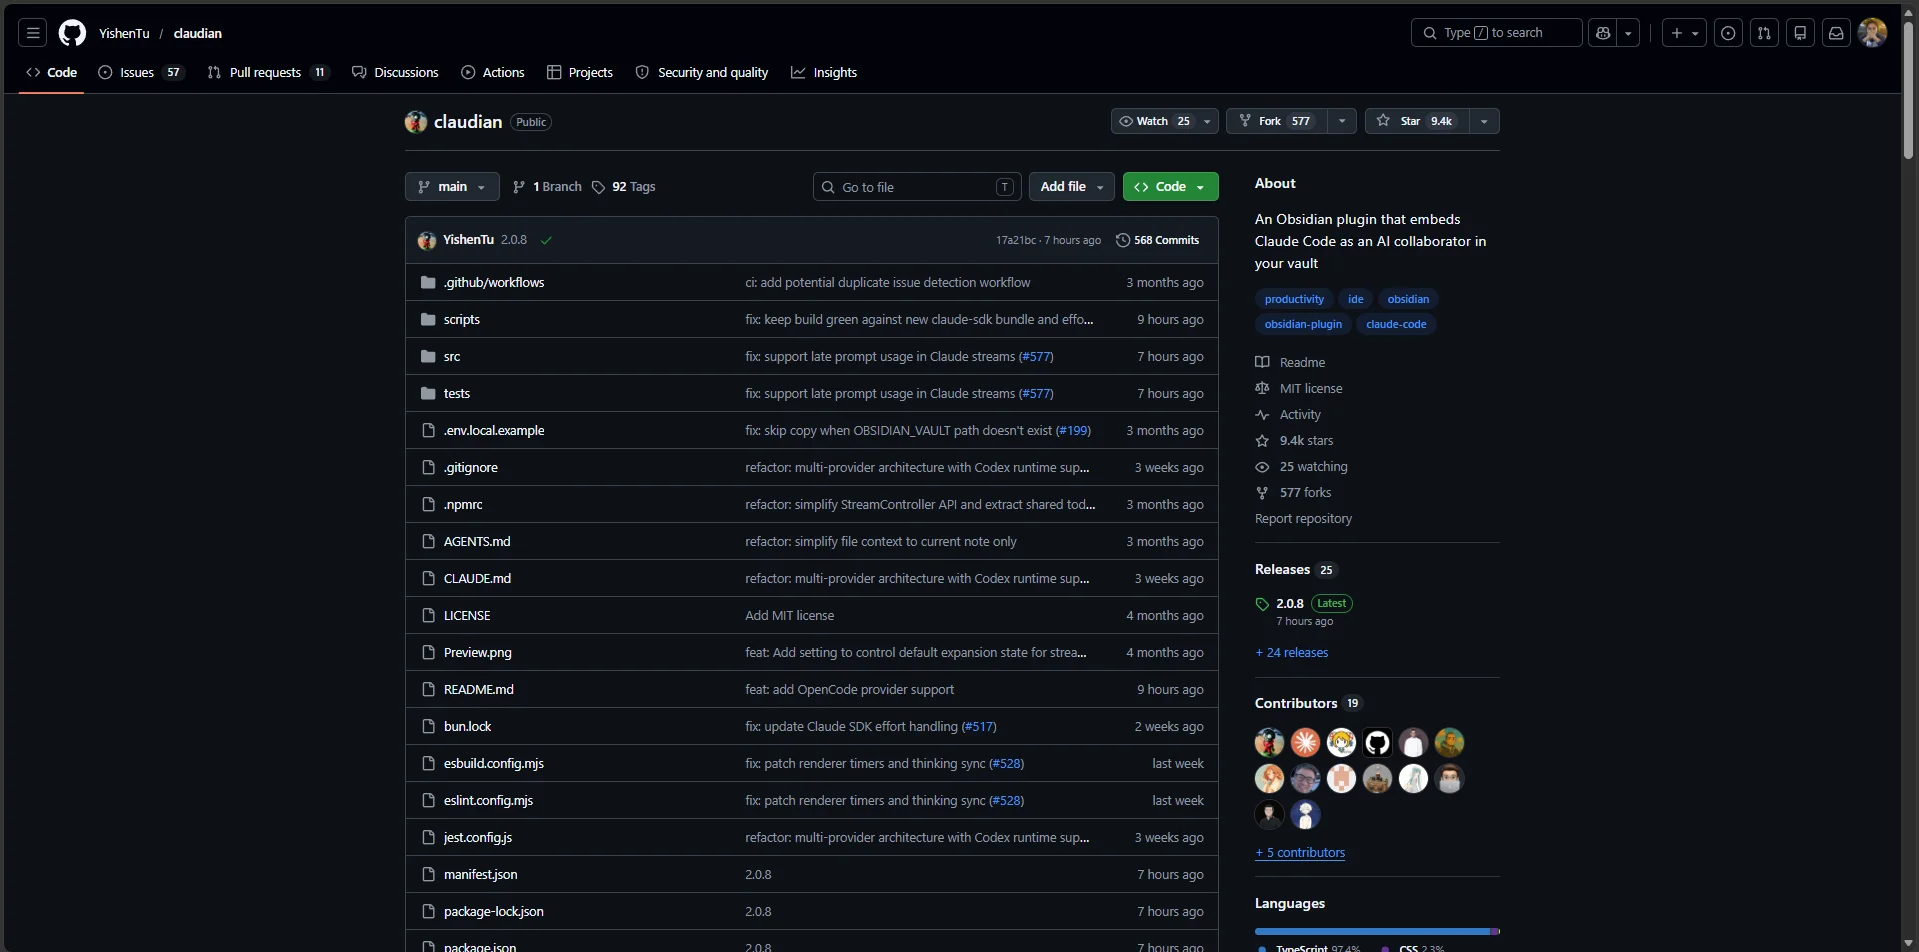
The template includes a community plugin called Claudian. Claudian is a chat panel that lives inside Obsidian itself, so you can talk to Claude without ever leaving your vault. The plugin is open source and lives at github.com/YishenTu/claudian.
To install it, open a terminal, navigate into your vault folder (the unzipped Second Brain Template), and run claude. When the prompt appears, tell Claude:
help me install this repo https://github.com/YishenTu/claudian
Claude will figure out the rest. It'll clone the repo into your vault's plugins folder, install dependencies, and build it. Watch what it does so you understand the steps, but you don't need to type them yourself.
Once it's done, restart Obsidian (close it completely and reopen it). Open Settings, go to Community plugins, and turn Claudian on if it isn't already. Then go to its plugin settings and add your Claude account credentials so the panel can talk to Claude on your behalf.
You'll know it worked when a small Claude icon appears in the right sidebar of Obsidian and you can open a chat panel inside the app itself.
Why both Claude Code and Claudian: Claude Code is the heavy-lifting agent that runs in your terminal and can do anything to your vault. Claudian is the convenient chat panel for quick questions while you're in the middle of writing. You'll use both, for different moments.
Step 3: Run the brain-setup skill
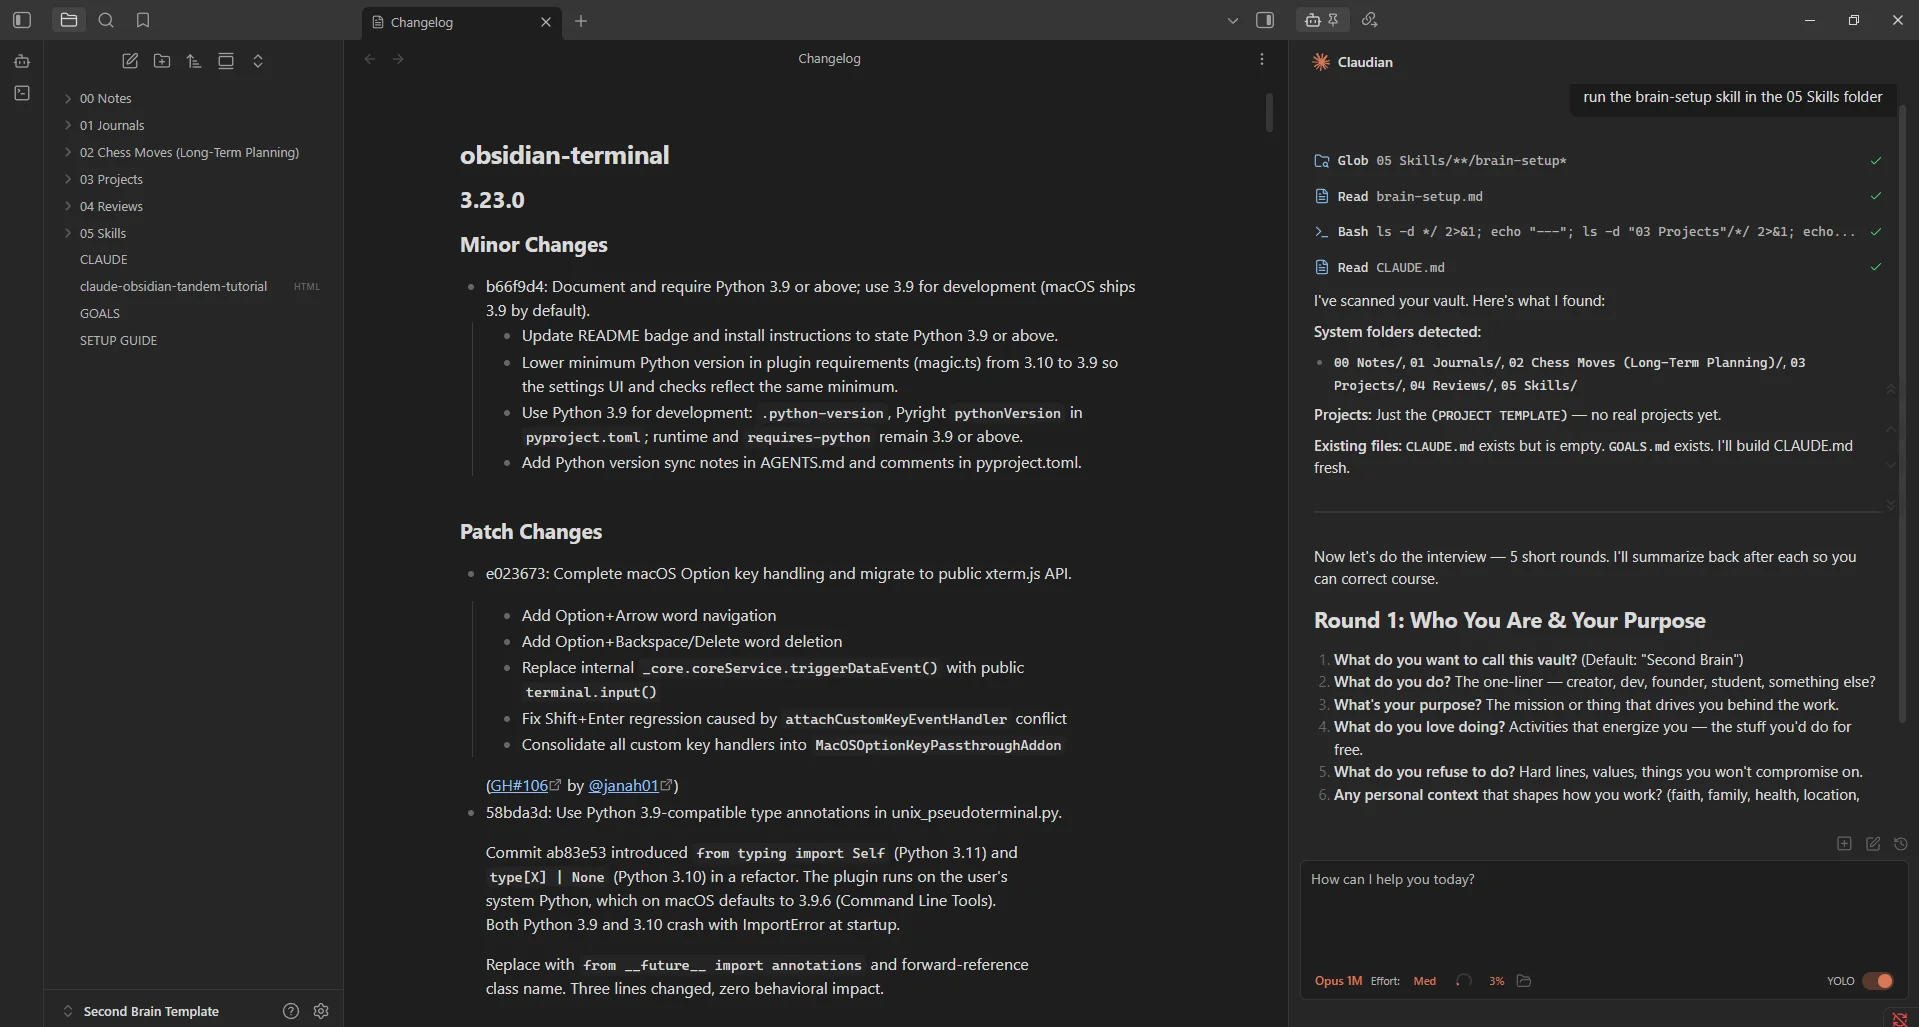
The template has a folder called 05 Skills that holds small, reusable instructions Claude can run on command. The first one to run is brain-setup. It'll interview you about your life, your work, your priorities, and your style, and then write the answers into the top-level CLAUDE.md so Claude knows who you are every time it works inside this vault.
In your terminal (with claude running in your vault folder), or in the Claudian panel, say:
run the brain-setup skill in the 05 Skills folder
Claude reads the skill file, follows the instructions in it, and starts asking you questions. Answer them as honestly and specifically as you can. The more real context you give it now, the more useful Claude will be in every future session.
Step 4: Write your goals
Open the GOALS.md file at the top of the vault. Spend some time journaling about what you actually want, the kind of writing you'd never put in a Notion template. What do you want your year to look like? What are you trying to build? What do you keep avoiding? What does success six months from now look like, in concrete terms?
You can do this two ways:
- Write it yourself first. This is the better path. Sit with it. The act of writing is the planning.
- Ask Claude to interview you. If you're stuck, tell Claude "interview me about my goals and fill in GOALS.md based on my answers." It'll ask you questions and assemble the file.
Either way, the GOALS.md file becomes context Claude pulls in whenever you're planning, prioritizing, or making a decision. It's the spine of the whole system.
Step 5: Set up your first project
Inside 03 Projects there's a folder called (PROJECT TEMPLATE). This is the blueprint for every project you'll create. It has its own internal structure, its own CLAUDE.md, and its own plugin settings.
The template guide suggests opening that PROJECT TEMPLATE folder as a separate Obsidian vault, customizing the appearance and plugins exactly the way you want, and saving. From that point on, every new project you create from this template will inherit those exact settings.
To create your first real project, tell Claude:
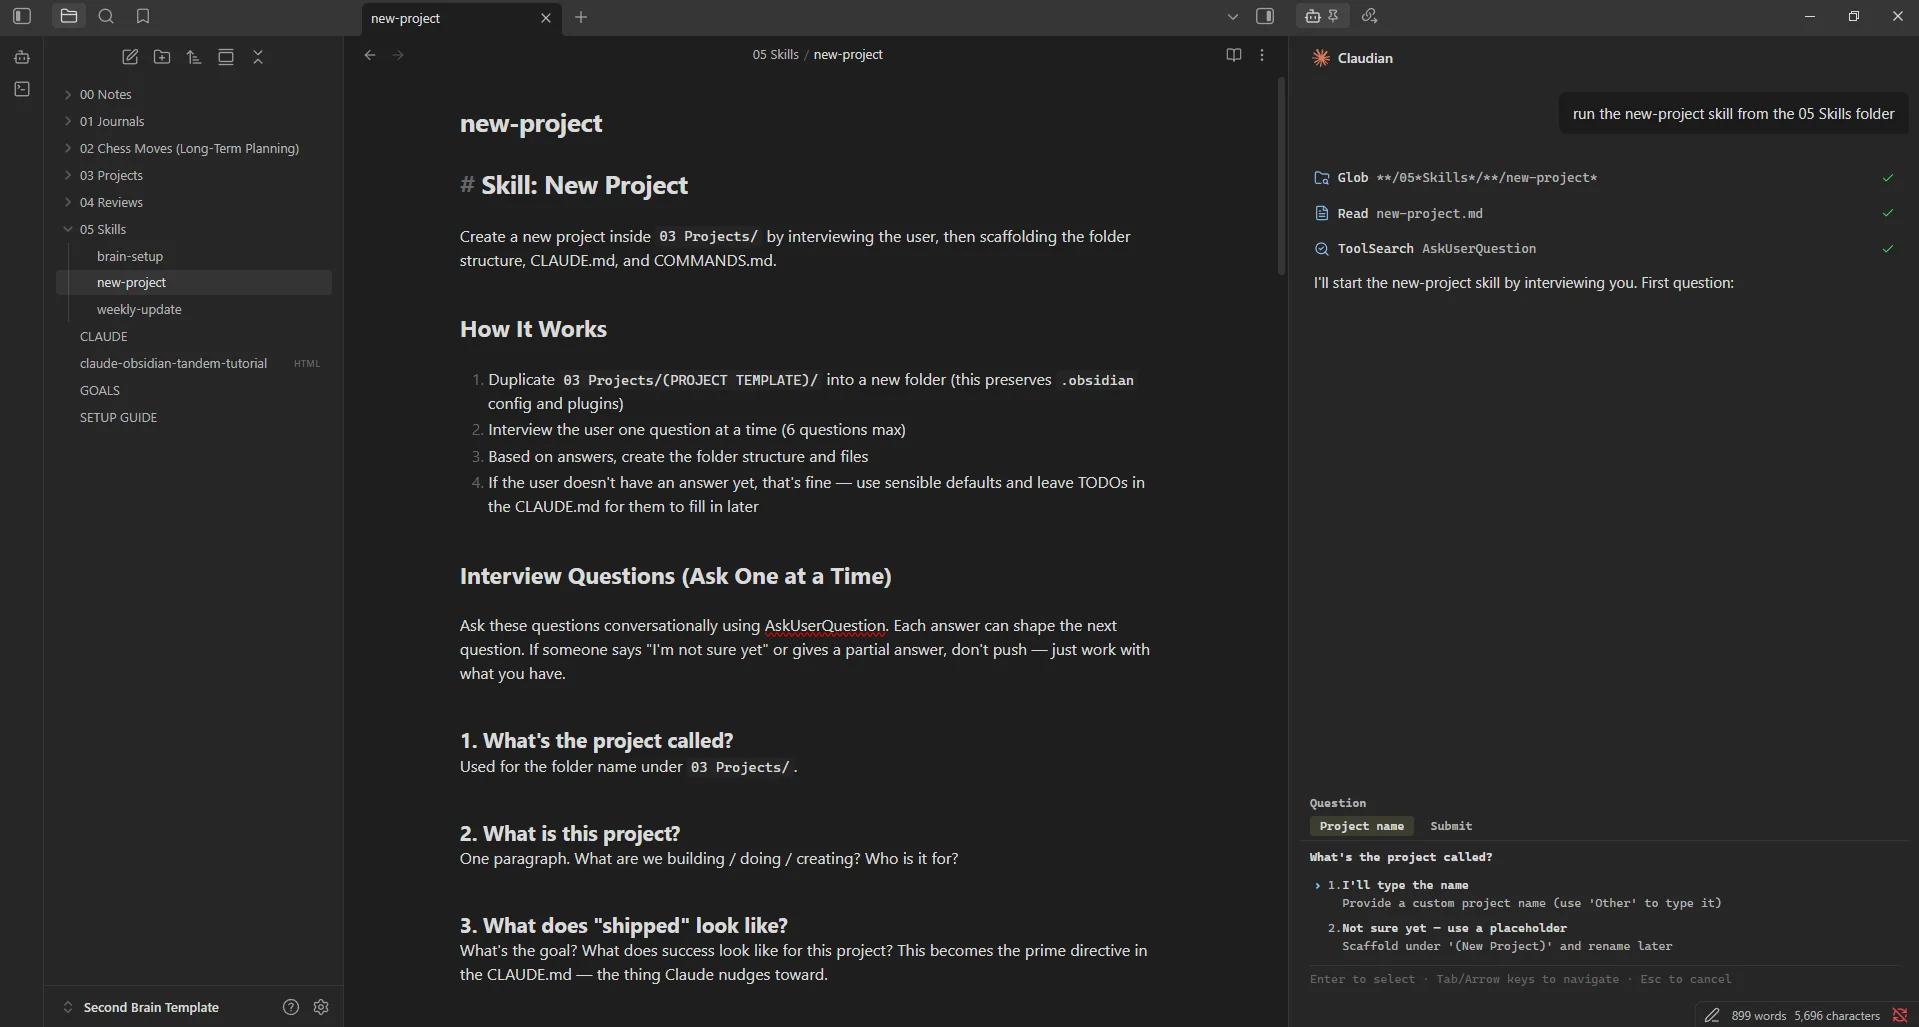
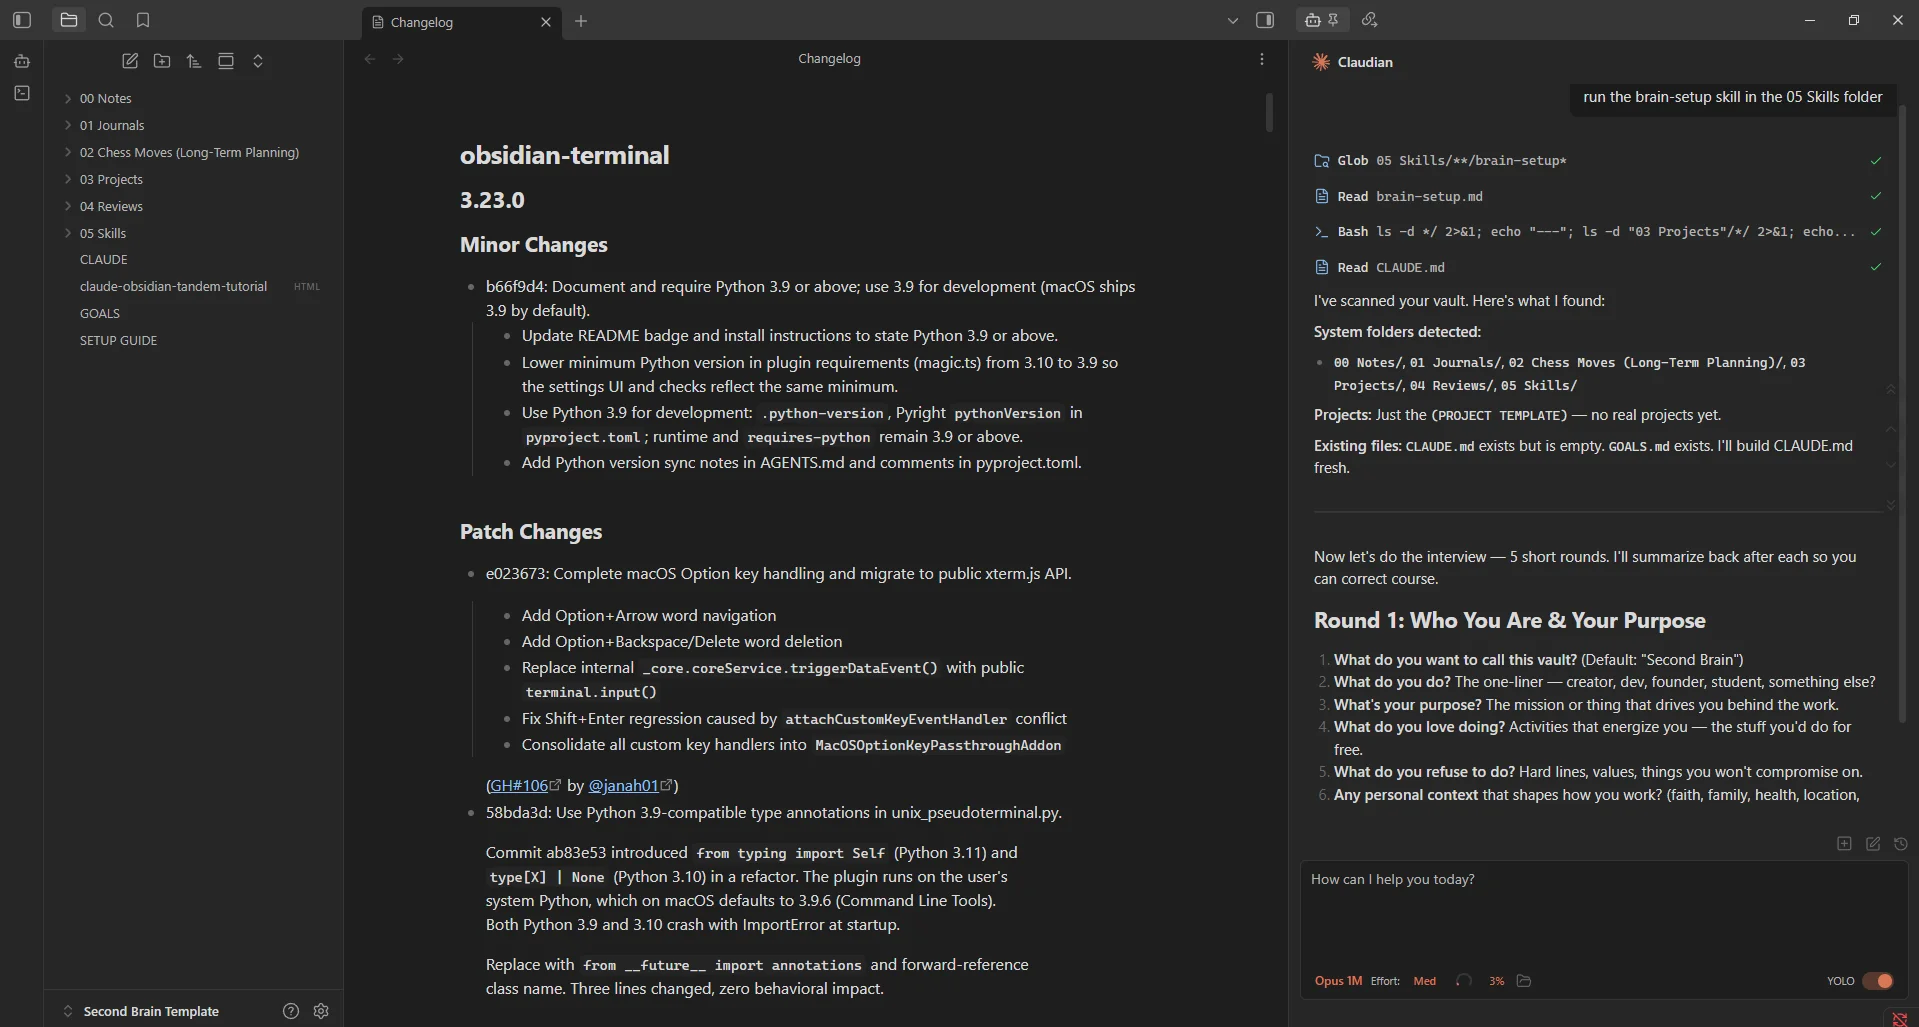
run the new-project skill from the 05 Skills folder
Claude walks you through naming it, defining what it is, setting initial milestones, and creating the project's own CLAUDE.md so future Claude sessions inside that project know exactly what they're working on.
The mental model: The top-level vault is your life. Each project folder is a smaller world inside that life with its own context, its own files, its own plans. Claude can work at either level. The skills are the templates that keep things consistent.
Step 6: Use the "chess moves" layer to plan
The folder called 02 Chess Moves (Long-Term Planning) is for long-arc thinking: your big bets, your three-year direction, the moves you're considering on the larger board. There's an example file in there to show you the format.
Spend time here on your own first. Think out loud. Then ask Claude to read your chess moves and pressure-test them, surface contradictions, or suggest moves you might be missing. The order matters: think first, then have Claude think with you. Don't outsource the original thought.
Step 7: Run the weekly update at the end of every week
This is the habit that makes the whole system compound. Every Friday, Sunday, or whenever you do your week-end review, run:
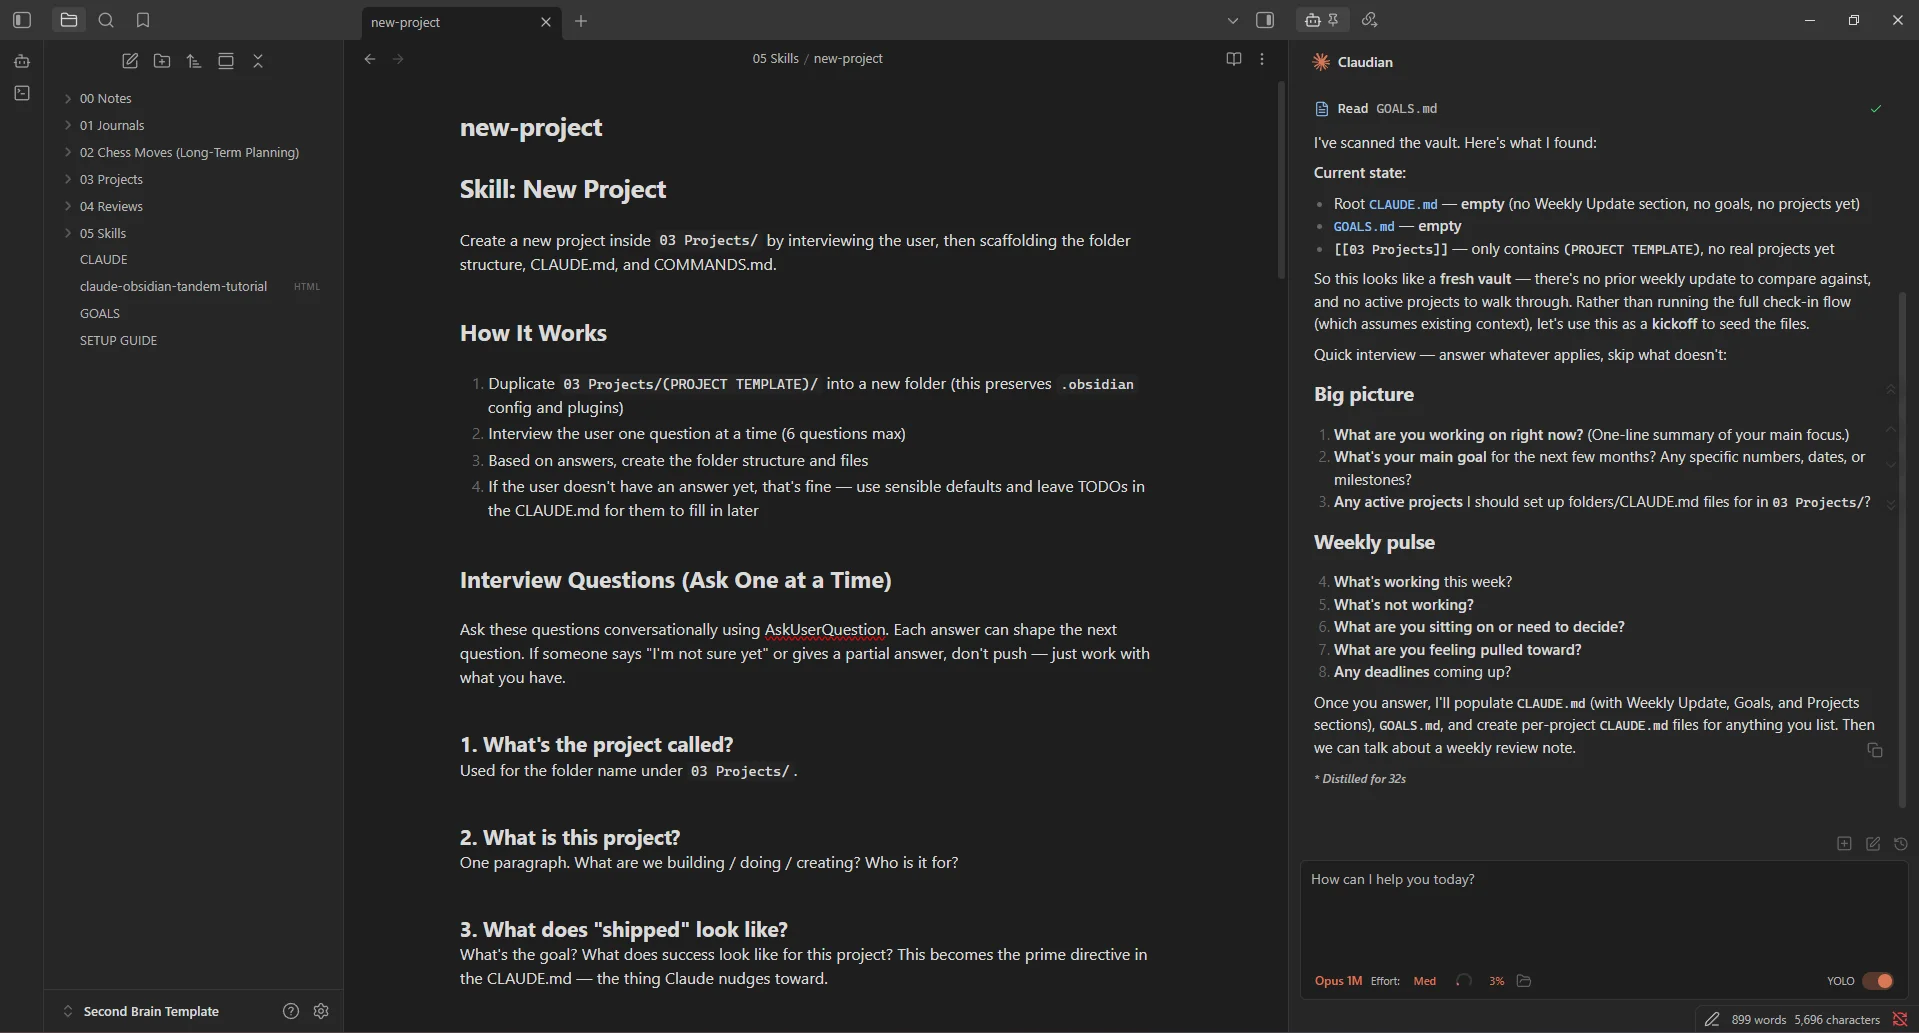
run the weekly-update skill in the 05 Skills folder
It'll walk through what changed this week, update your CLAUDE.md files at every level (top-level, project-level), and keep the system honest about where you are.
Skip this and your second brain slowly drifts out of sync with your real life. Do it consistently and the system stays sharp for years.
Step 8: Customize everything to you
The template is a starting point. The whole reason a personal second brain works is that it's personal. Add your own folders. Write your own skills (use one of the existing ones as a model). Bookmark the notes you open daily. Adjust the CLAUDE.md files to reflect your actual voice and your actual workflow.
This part takes time. It's also where the system stops being someone else's template and starts being yours, which is when it actually starts to work.
Bonus: mobile access via Claude Dispatch. If you want to talk to your second brain from your phone, install the Claude Desktop app and the Claude phone app, open Dispatch on the desktop app, connect your phone, and tell Claude: "Set this Second Brain folder as your permanent workspace so you always work from there." Now you can ask your vault anything from anywhere. Turn on phone notifications so you actually hear the responses.
Which option should you actually pick?
If you've read this far you can probably already tell, but here's the honest comparison.
Pick Option 1 if you mostly want to chat with notes you already have. It's the right call if you're already deep in Obsidian, you don't want a new system, and you just want Claude to read what's there. You'll get most of the magic with about fifteen minutes of setup.
Pick Option 2 if you want a system, not just a feature. It's the right call if you want a structured place to plan your life and work, you want Claude to actively run rituals (weekly updates, project setup, goal interviews), and you don't mind giving up about half an hour to set it up properly. The payoff over six months is much bigger.
You can also do both. Nothing about Option 2 stops you from also having Option 1 wired up. People who go all-in usually do.
The boring truth: The best second brain is the one you actually open every day. Pick the option that you're most likely to keep using and start there. You can always go deeper later.
Common things that go wrong (and what to do)
Claude Desktop doesn't seem to know about my MCP server
Quit Claude Desktop fully and reopen it. The config only loads on startup. If that doesn't work, paste your claude_desktop_config.json contents into a JSON validator to check for syntax errors. A misplaced comma will silently break everything.
Claude says it can't connect to Obsidian
Make sure Obsidian is actually open and your vault is loaded. The Local REST API plugin only works while Obsidian is running. If it's still failing, double-check the API key in your config matches the one in Obsidian's plugin settings exactly.
"claude is not recognized as a cmdlet" on Windows
Your install folder isn't in PATH. Open PowerShell and run $env:PATH += ";$HOME\.local\bin" for the current session. To make it permanent, open System Properties > Environment Variables and add %USERPROFILE%\.local\bin to your user PATH.
The Claudian plugin won't load
Restart Obsidian after install. Check Settings > Community plugins to make sure it's enabled. If it still doesn't appear, look at the plugin folder inside .obsidian/plugins in your vault and confirm main.js and manifest.json exist. If they don't, ask Claude to rebuild the plugin (it knows how).
Claude isn't following my CLAUDE.md instructions
Make sure Claude Code is opened from the root of your vault (the folder where CLAUDE.md lives). It picks up the file automatically only if you start it from that folder. If you're inside a project subfolder, it'll pick up that project's CLAUDE.md instead.
What to do tonight
Reading about a system isn't the system. Here's the smallest version of "starting" that still counts:
- Install Claude Desktop and Claude Code (Section 02). Twenty minutes, max.
- Pick Option 1 or Option 2 based on the comparison above. Don't try to do both tonight.
- If Option 1, get the MCP server connected and ask Claude one real question about a note you've actually written.
- If Option 2, download the template, open it as a vault, and run the brain-setup skill. Just that. Don't try to fill in everything in one sitting.
The compounding starts from the very first session. The Claude that reads your goals tomorrow is more useful than the Claude that read them today. By month three you'll wonder how you ever worked without it.
That's the whole pitch. The setup is small. The payoff is enormous. Open the terminal and start.